Asana acquires StackAI — now every human-agent workflow runs in one place.Learn more
Web design process template
Use a free template to establish processes and workflows, assign tasks, set deadlines, and organize designers, developers, and stakeholders.
Use templateSign up to use this template.
INTEGRATED FEATURES
Recommended apps
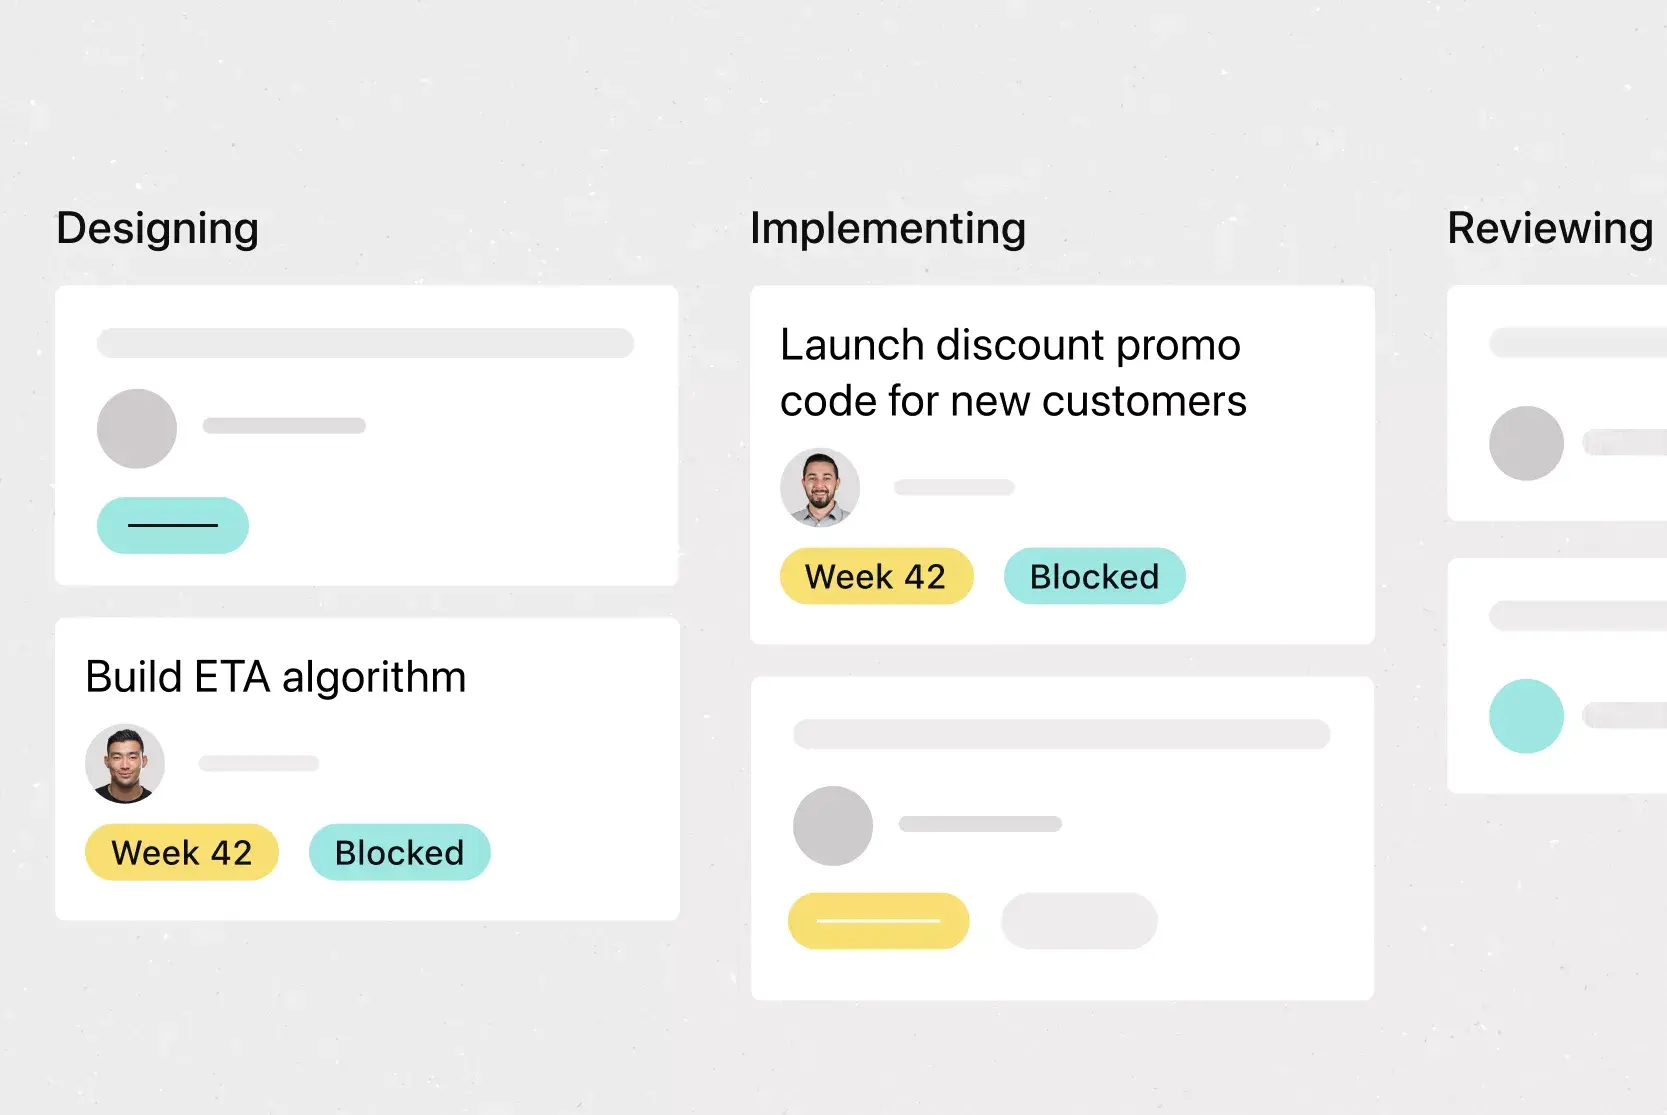
![[Old product ui] Web design process template in Asana, Kanban board style project view (Boards)](https://assets.asana.biz/transform/801a45cb-4b6d-42fb-830a-2b29ee717dd1/web_design-m?io=transform:fill,width:2560&format=webp)
Summary
Building a website requires coordination, and when producers and developers use different tools, it can lead to missed handoffs and timing issues. With Asana, web teams can set up a process and timeline to organize everyone and everything, regardless of the tools they use.
This article explains what a web design process template is, why it’s important, and the main steps to take a website from idea to launch. You’ll also get practical tips for managing web projects and learn how to use this free template to organize your design processes.
Read: Free vision board template to help you follow throughWhat is a web design process template?
A web design process template is a pre-built project plan that maps out every phase, task, and milestone involved in designing and launching a website, from initial discovery through post-launch optimization. It gives your team a repeatable structure to follow so nothing gets overlooked.
Instead of starting from scratch for every web project, a template is ready-made, with task owners and deadlines for each step. It usually covers phases such as:
Discovery and goal-setting: Define the site's purpose, audience, and success metrics.
Planning and scope: Document pages, features, budget, and timeline.
Design and development: Create wireframes, visual designs, and working code.
Testing and launch: Validate functionality across devices and go live.
Why use a web design process template
When web projects rely on informal plans or scattered communication, things tend to fall through the cracks. A web design process template helps you avoid that by bringing structure and visibility to every stage of the project. Here's why it matters:
Reduce miscommunication. When your team and stakeholders can see each phase, everyone shares the same expectations. No more guessing about who's handling what or when feedback is due.
Stay on schedule. With deadlines assigned to each phase, your team can keep the project moving forward without losing momentum.
Avoid scope creep. A template helps you document the project scope upfront, making it easier to manage change requests.
Save time on future projects. Once you've built a solid process, you can reuse the template for every new web project and adjust it to fit each project's specific needs.
Keep clients informed. A well-defined workflow minimizes confusion between teams and clients, so deadlines are met, and quality never slips.
Key steps in the web design process
Good web design is more than just wireframes and visuals. It’s about following a process that connects every decision to your goals. Here are eight key steps your team should follow from start to launch.
Discovery and goal setting
Every successful website project begins with research. Before you start, make sure you know the site’s main goal and what competitors are doing. If you skip this, you risk creating layouts that don’t work for visitors.
During the discovery phase, define the purpose of the site by answering key questions like:
What should this website accomplish?
Who is the target audience?
What are the key metrics for success?
Goals help your team make decisions, set priorities, and stay focused on what’s important throughout the project.
Scope definition and planning
Once you know the site's goals, you can define the scope of the project, including what web pages and features the site requires and the timeline for building them.
At this stage, write down the number of pages, the main features, the budget, and the timeline. Since the scope can change as the project progresses, documenting it now helps your team stay on track and avoid extra revisions later.
Sitemap and wireframe creation
At this stage, you're focused on structure, not style. Two key outputs define this phase:
Sitemap: Outlines the website's structure and hierarchy, defining its pages and how they connect. It serves as a visual map of the site's architecture.
Wireframes: Sketch the layout and functionality of each page, focusing on user experience and interface elements without visual design specifics.
Start with simple wireframes to plan how content will be arranged on each page before spending time on detailed design.
Content creation
Once you have an overview of the site, begin creating content for each page. Remember to use search engine optimization (SEO) so each page stays focused on one topic.
Content creation typically includes:
Writing page copy and headlines
Sourcing images and media
Developing calls to action
Create content while you design, so your layouts use real text and images rather than placeholders.
Visual design and mockups
At this stage, your brand identity appears on screen. Brand colors, real fonts, images, and UI elements replace the gray boxes and placeholder text from earlier wireframes.
Share design mockups with stakeholders early and regularly to get feedback before development starts. This helps you avoid expensive changes later.
Development
During development, your designs become a working website through front-end and back-end coding. Developers add features, make sure the site works on all devices, and improve performance.
During development, keep your design and development teams aligned by using a shared project where both sides can track progress, flag blockers, and communicate updates in real time.
Testing and QA
Testing is a critical step in the website design process and should happen alongside development. End-to-end testing covers several key areas:
Functionality: Validate that all forms, links, and interactive elements work as expected.
Compatibility: Test across different browsers, devices, and screen sizes.
Performance: Check load times and optimize for speed.
Security: Confirm that SSL, data handling, and permissions are properly configured.
Find and fix bugs now to prevent problems after launch.
Launch and post-launch optimization
Once testing is complete and your team has signed off, it's time to go live. But launching your site doesn't mean the work is over; ongoing maintenance, content updates, and SEO improvements keep your site competitive.
Set up analytics to monitor user behavior, track your key metrics, and plan for ongoing improvements. A post-launch review helps your team identify what went well and what to adjust for the next project.
How to use this web design process template
You can start using this free template in just a few minutes. Here’s how to set it up for your team:
Duplicate the template. Start by adding the template to your Asana workspace. You'll get a pre-built project with phases, tasks, and milestones already mapped out.
Customize the phases. Adjust the template to match your team's specific web design workflow. Add, remove, or rename sections to reflect the steps your team follows.
Assign owners and deadlines. For each task, assign a team member and set a due date. This makes it clear who's responsible for what, so nothing falls through the cracks.
Add context to tasks. Attach design files, briefs, copy documents, or reference links directly to each task. This gives your team everything they need to do their work without having to search through emails or chat threads.
Track progress in real time. Use board, list, or timeline views to see where every task stands. Move tasks through phases as work gets completed, so the whole team has visibility into progress.
This template works for any team size, whether you’re a freelance designer handling client work or part of an in-house team doing a full website redesign.
Tips for managing web production with our template
Make deadlines and responsibilities clear. Tasks with deadlines indicate who's responsible for what and by when, while tracking instructions and attachments to expedite production.
Save time with automation. As new requests come in or work moves forward, project owners can set up rules to automate tasks, saving time and steps in the process.
Create one source of truth. Do your web teams work in Microsoft Teams, Slack, or other tools? No problem. Keep work connected by setting up an integration.
Tools to manage your web design process
Most web design projects use several tools, but your team shouldn’t have to juggle separate apps. Asana brings everything together by connecting with the tools you already use.
Communication tools. Use the Slack integration to turn messages into tasks, get project updates in your channels, and reduce context-switching.
File storage. Link Google Drive, Dropbox, or OneDrive to keep all project documents accessible without leaving Asana.
Development tools. Connect tools like GitHub or Jira to bridge the gap between your design and development teams.
With over 300 integrations available, you can build a web design workflow that fits the way your team already works. Explore all available integrations in the Asana app directory.
Streamline your web design process with Asana
A well-structured web design process keeps your team focused, your stakeholders informed, and your projects on schedule. This free template provides a repeatable workflow that you can customize for every project.
Whether you're managing a simple landing page or a full website redesign, Asana helps you assign work, track progress, and collaborate across teams in one place. Get started today and see how much smoother your next web design project can be.
Free web design process templateFAQs about the web design process
What are the 7 steps in web design?
How long does the web design process take?
Who should be involved in the web design process?
Related templates
![[Templates] Sprint Retro (Card image)](https://assets.asana.biz/transform/889d64ca-6f95-485f-888a-b015a0932852/TG23-web-hero-049-launch-post-mortem-thumbnail-2x?io=transform:fill,width:2560&format=webp)
![[Agile Daily Standup] template Card Image](https://assets.asana.biz/transform/0df37b8d-d69a-42af-b4ac-c0fc41658276/TG23-web-thumbnail-019-weeklytodo1-static-2x?io=transform:fill,width:2560&format=webp)

![[Templates] Software and System Deployment (Card image)](https://assets.asana.biz/transform/8b9bb024-d81b-48ec-8cd8-148453823fbe/software-and-system-deployment?io=transform:fill,width:2560&format=webp)


Productive and powerful by design
What could your design team achieve if it were 45% more efficient? Find out today.